
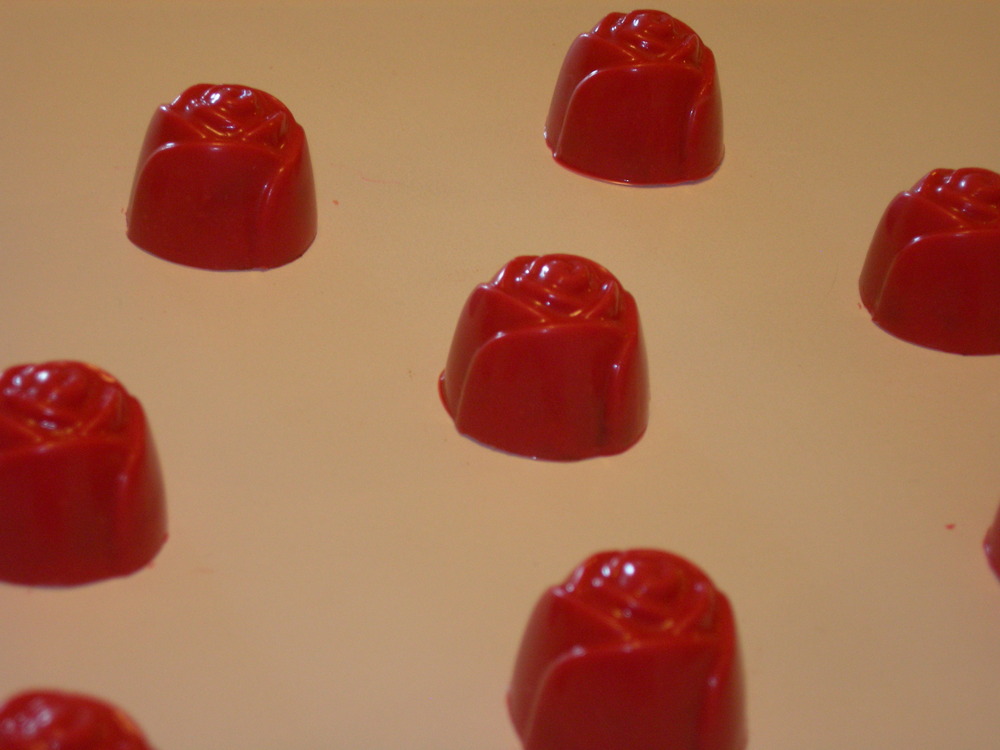
These truffles are both tasty and cute and guarenteed to please any chocolate lover. The candy shell allows them to be stored at room temperature without melting, while the truffle inside melts in your mouth. The truffle recipe I used is from Jordan Demello, an engineer here at the University of Western Ontario. Instead of truffles, you could also try caramel, nuts, marshmallow fluff, candied cherries, jam, etc.
These treats use coloured melting wafers (coloured disks that taste like white chocolate, available in a variety of colours from Bulk Barn). If you cannot find the colour you want, you can mix the wafers, but do not use water based food colouring as the wafers are oil based. Likewise, make sure that the plastic mold is completely dry before using with the wafers.
I don’t intend to sound like an advertisement for Bulk Barn, but it is probably my favourite store—and students and seniors get 10% off on Wednesdays.
Ingredients:
– Merckens coloured melting wafers (roughly 0.25 kg makes 36 candy shells)
– filling (I used the truffle recipe below)
Other stuff:
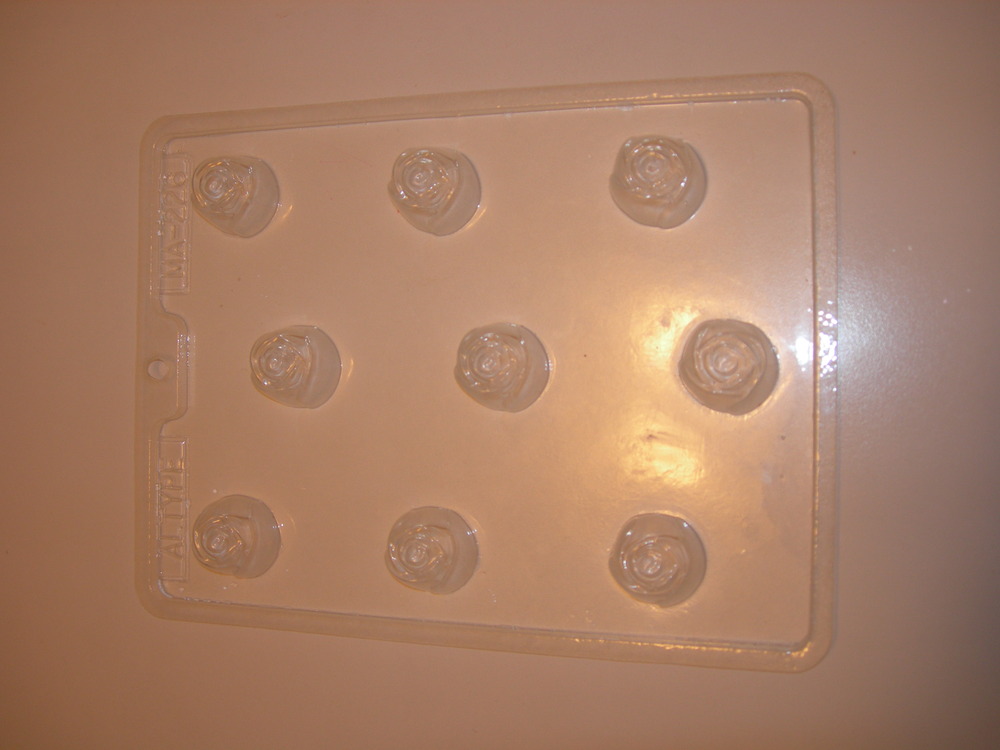
– rose (or whatever shape you want) candy mold (available from Bulk Barn, shown here)
– paintbrush with plastic bristles (available from Bulk Barn, but expensive there. Probably available at a lower price from Zellers or Walmart.)
– microwave safe bowl
– spoon
1. Put a handful or two of the melting wafers into the microwave safe bowl. Microwave for 30 seconds.
2. Stir vigorously until smooth. If there are a lot of wafers in the bowl, you may need to put them in the microwave for another 15-30 seconds.
3. Spoon melted wafers into each cavity until the cavity is slightly less than half full (it is better to underfill than overfill). Tap the mold to release any air bubbles.
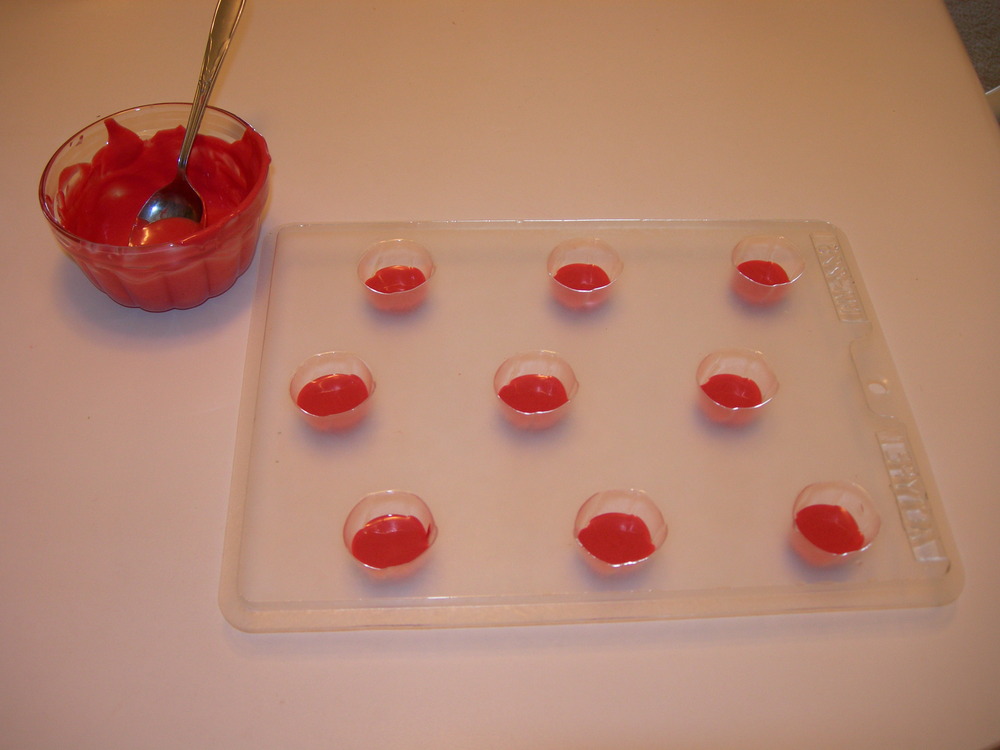
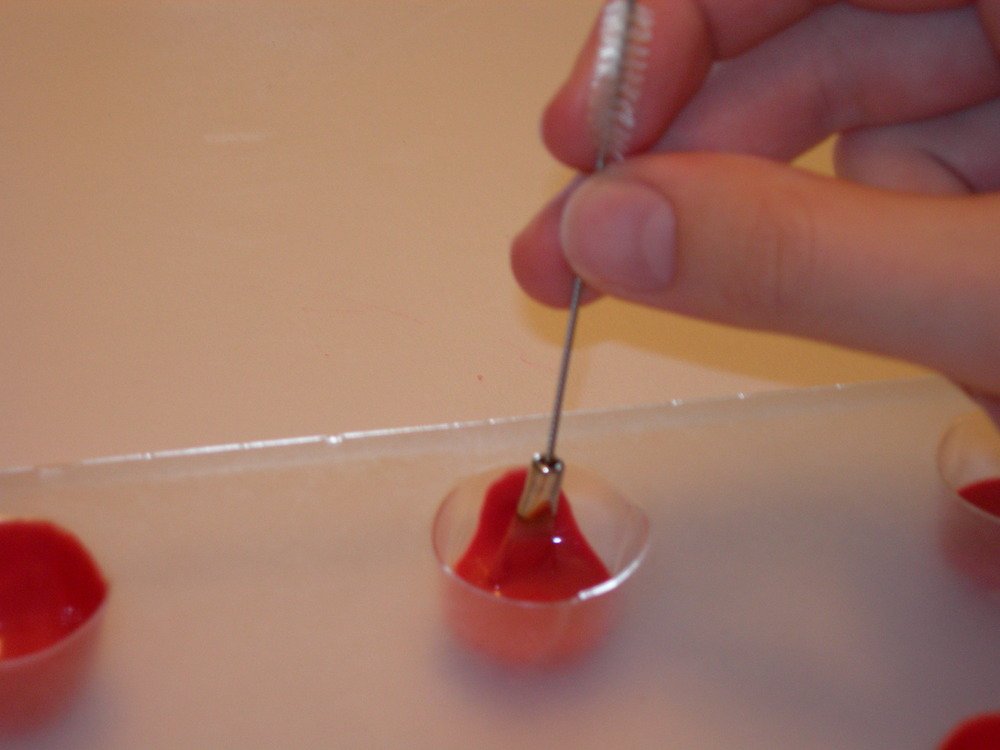
4. With the paintbrush, paint the melted wafers up the side of the cavity. Make sure all sides and bottom of the cavity are completely covered. If you need more wafers in the cavity, you can grab some with the paint brush.
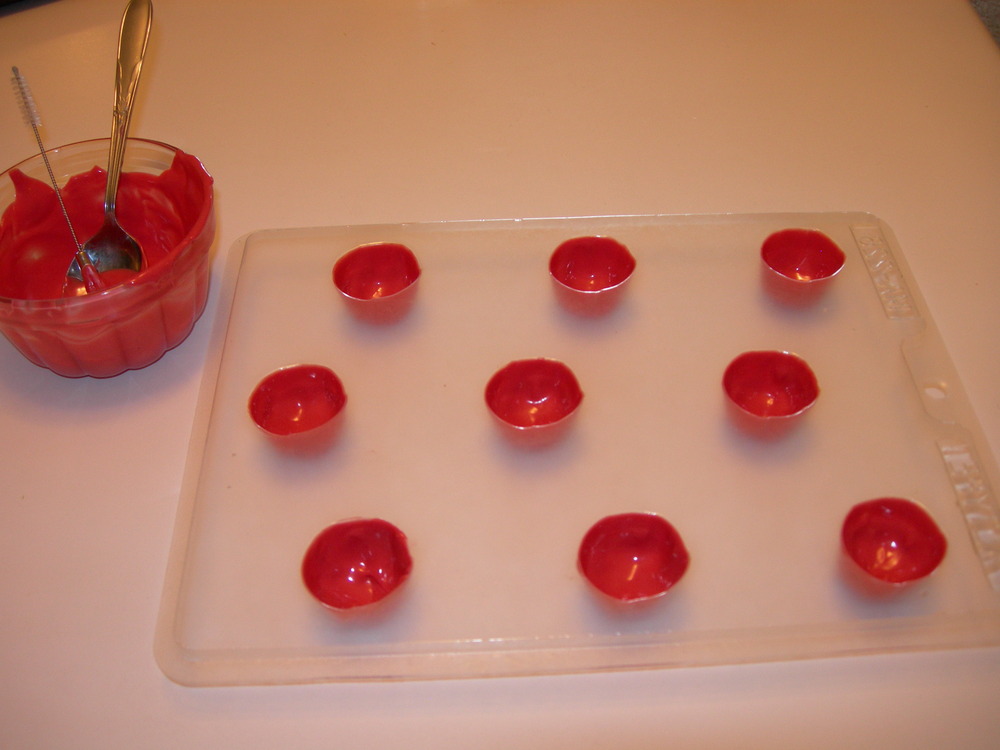
5. Refrigerate until set (about a minute or two). The candy is set when it looks “frosty” if you look through the plastic mold at the candy (if it is not set, it will look wet and rich in colour).
6. Fill each cavity with the filling of choice, leaving the top ¼ inch of the cavity empty. If you are using a viscous filling, such as the truffles, you may need to gently, but firmly, press the mixture into the cavity (as to not trap air inside). If using a temperature sensitive filling (such as truffles), it is good to put them in the fridge for a minute or two to allow them to stiffen again.
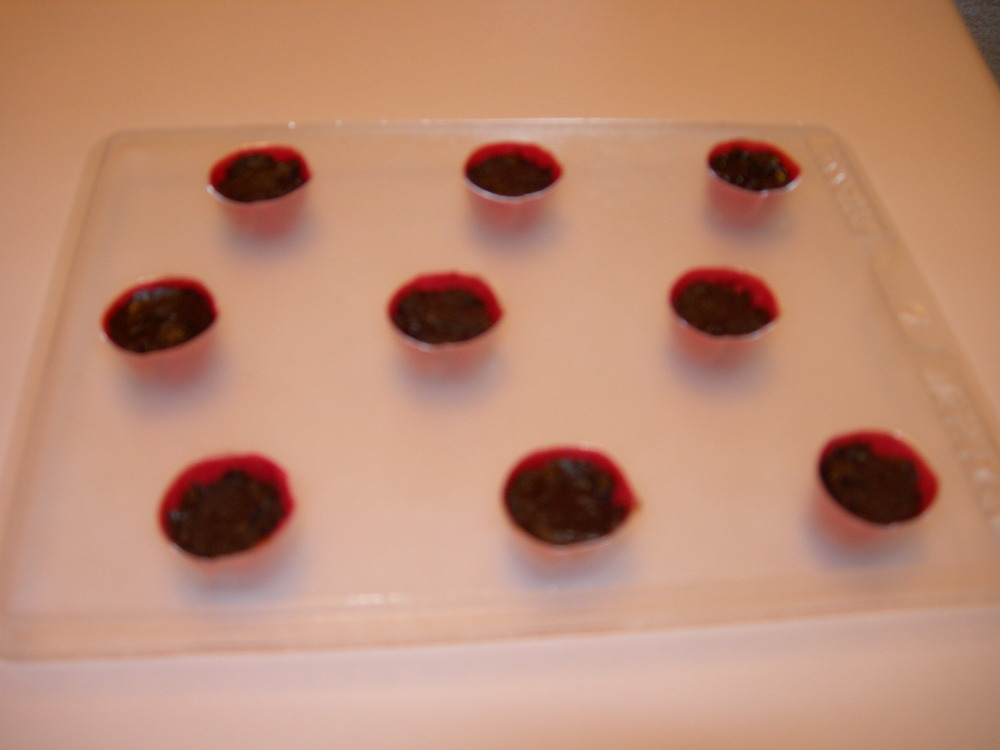
7. Spoon melted wafers in cavities to fill (may need to add more wafers and/or microwave your wafers again). Tap the mold to release air bubbles and flatten the bottom of the candies. Put in the fridge for 2-3 minutes (until set and firm to the touch).
8. Invert the mold onto a clean surface. Tap the mold to release the candies.
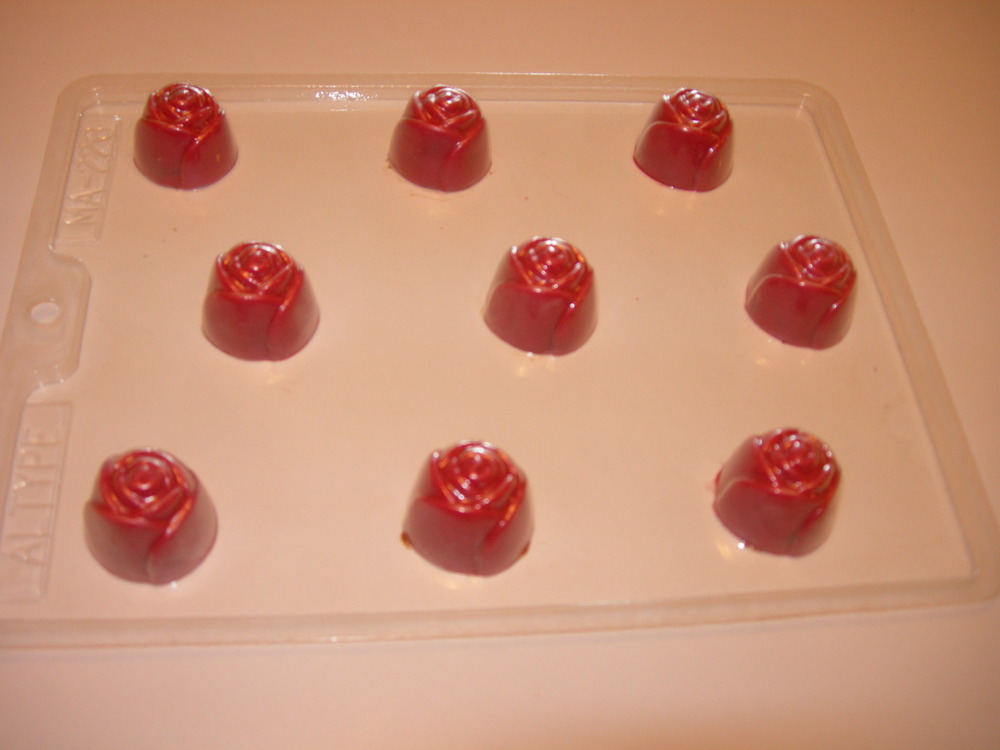
9. Enjoy or store at room temperature or in the fridge/freezer to enjoy later.
Truffles (from Jordan Demello)
Ingredients:
– 350 grams (roughly 2 cups) semisweet or bittersweet chocolate chips
– 1 cup (250 mL) whipping cream (35% cream)
– 3 tablespoons butter
– 2 tablespoons flavouring –optional (some good ones are vanilla extract, orange extract, mint extract or alcohol (such as Grand Marnier, Kahlua, rum, etc.))
– covering (if making candy covered truffles, then you don’t need this as the candy shells are the covering. If you are making just truffles, you will need something to roll them in, such as icing sugar, cocoa powder, crystallized sugar, sprinkles, etc.)
Other stuff:
– a heat resistant bowl (and lid)
– a pot
– a spoon/whisk
– a couple teaspoons
1. Put the chocolate chips in the heat resistant bowl, set aside.
2. Combine the rest of the ingredients in the pot and bring just to a boil over medium low heat, stirring frequently.
3. As soon as the mixture starts to boil, pour the hot liquid over the chocolate chips and cover with the lid. Leave it for a few minutes to allow the heat to permeate.
4. Whisk/stir thoroughly. The mixture will jump from a thin “chocolate milk” consistency to a dark, viscous one.
5. Refrigerate up to two hours, or until set (firm enough to work with).
6. Put this into candy shells or roll into small spheres (roughly ¾ inches in diameter) then roll in the “covering”. Warning: This part is very messy. Using a couple teaspoons to form the spheres helps cut back on the mess. You may need to move the truffle mixture in and out of the fridge to keep it at a workable temperature.
7. Enjoy or store in the fridge/freezer to enjoy later.
Tweet