
Want to give something special to your Valentine or favourite person around the department? Need a box for it? Here’s a perfect box!
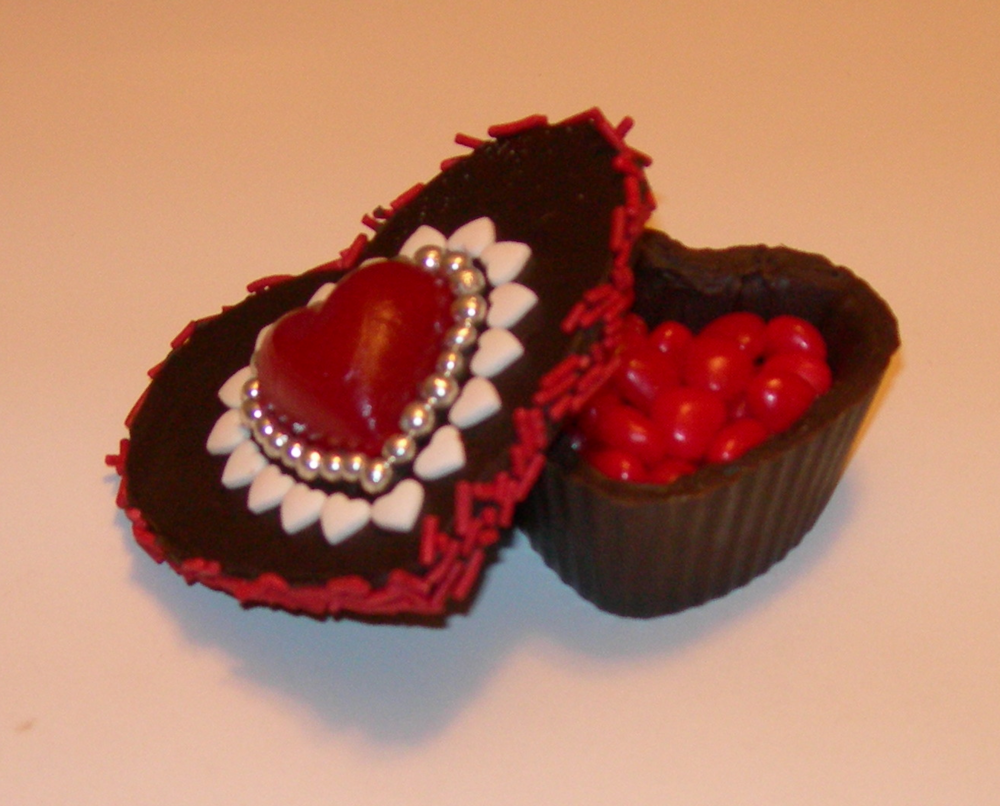
To create this, I have used a cupcake silicon baking cup. They are great and come in all sorts of shapes (shown below), but they can be expensive. A cheaper alternative is to use a paper cupcake baking cup inside a muffin tin (so it has support) or line a mug with aluminum foil.
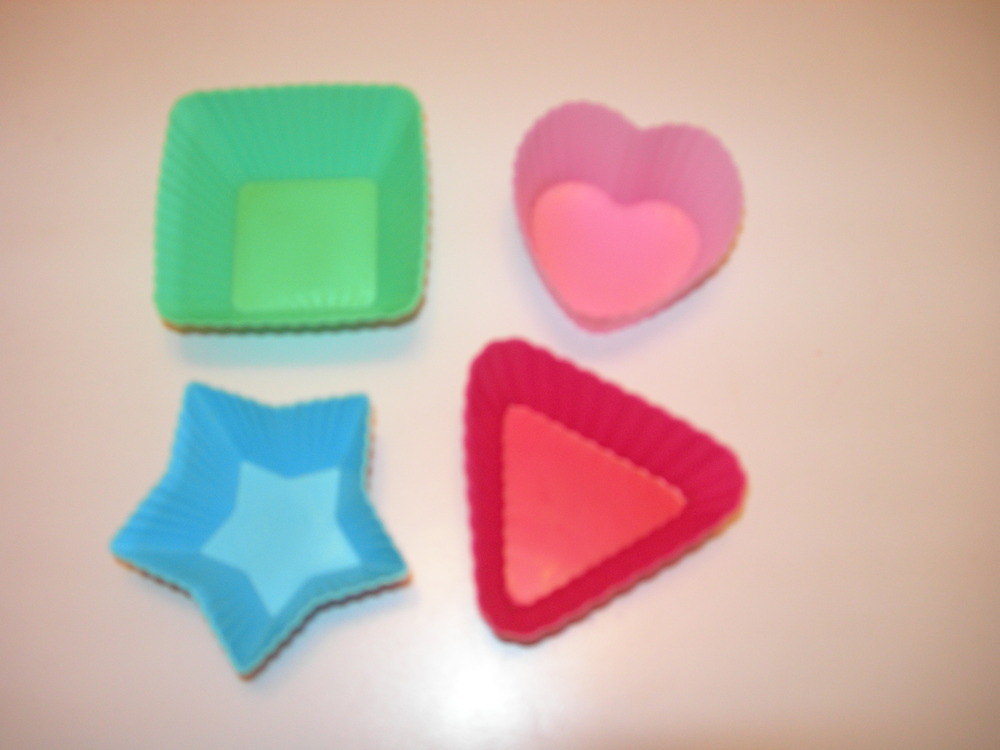
Ingredients:
– chocolate chips (what I used) or Merckens coloured melting wafers
– candy for decorating the lid
Other stuff:
– cupcake silicon baking cup or alternative
– paintbrush with plastic bristles
– microwave safe bowl
– spoon
– two cookie cutters—one in the shape that you want for the lid, larger than the opening of the baking cup, one in the same shape as the opening of the baking cup, small enough to fit inside the opening and have at least ¼ inch space between it and the cup all the way around
– wax paper (a piece larger than largest cookie cutter)
– two plates
– sharp knife (optional)
How to melt chocolate chips:
Place chocolate chips in a microwave safe bowl. Heat in the microwave 30 seconds at a time, stirring in between until smooth.
Create the box
1. Melt chocolate chips and paint the inside of the silicone baking cup (or alternative) completely. Refrigerate until solid (depending on the thickness of the chocolate layer 2-5 minutes).
2. Repeat step 1 until there is a thick, solid layer of chocolate coating the inside of the baking cup (or alternative).
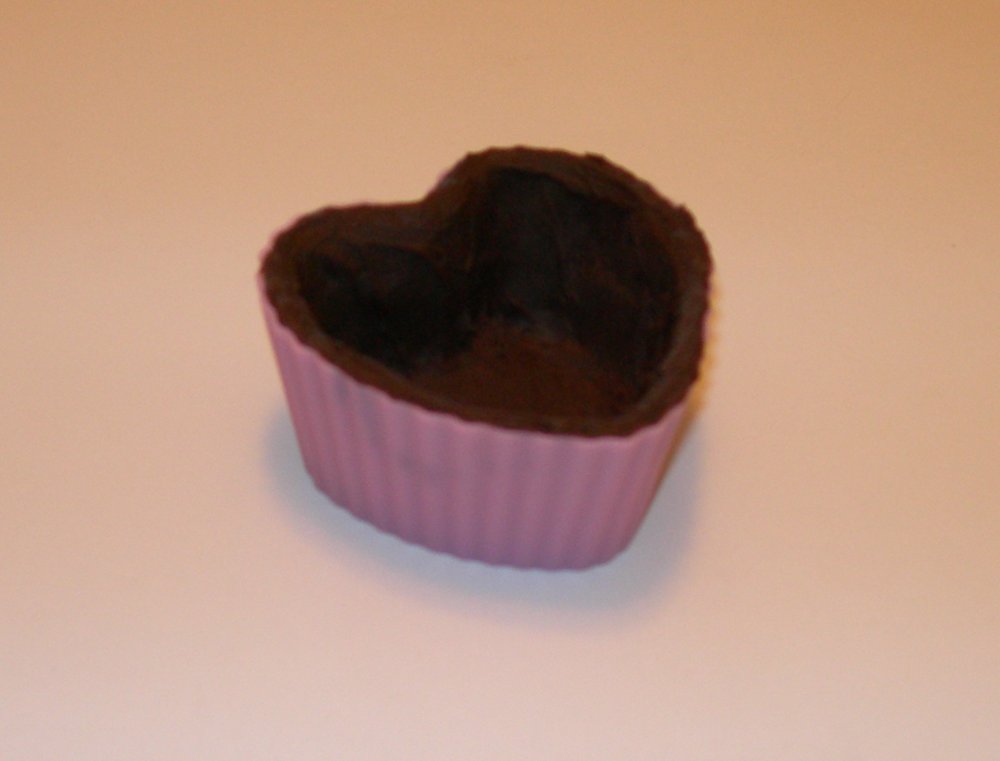
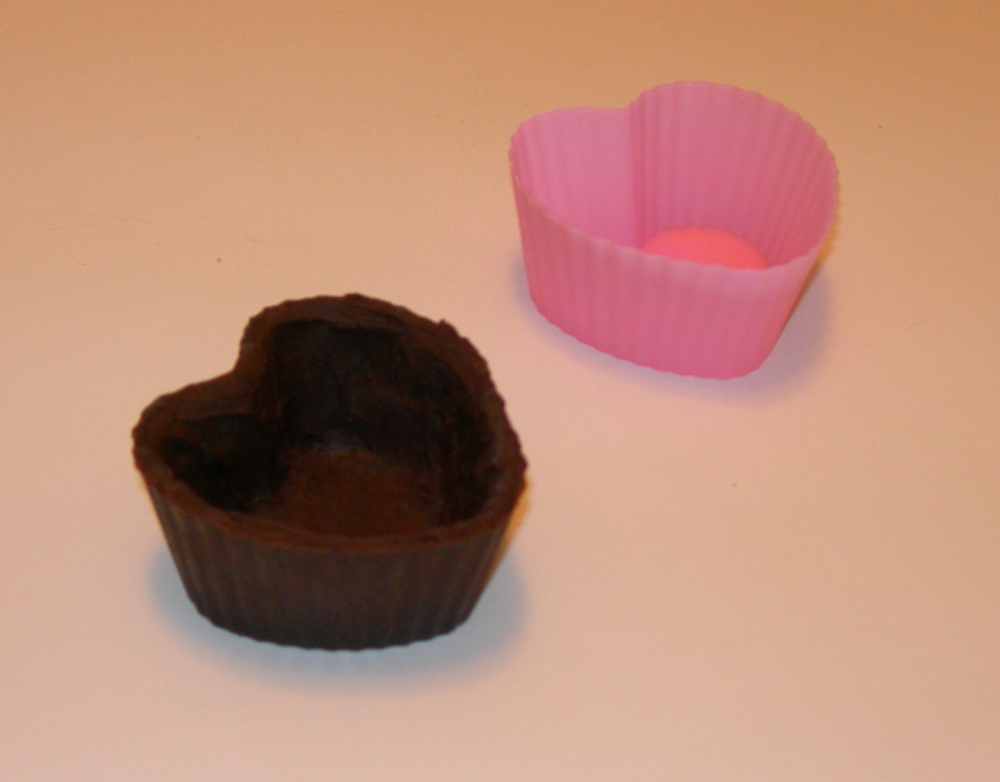
3. Carefully peal the silicone or paper baking cup off of the chocolate. If you are using an aluminum lined mug, gently remove the aluminum foil and chocolate from the mug, and then peel the aluminum off.
Create the lid
1. Put the wax paper on the plate and the largest cookie cutter on top.
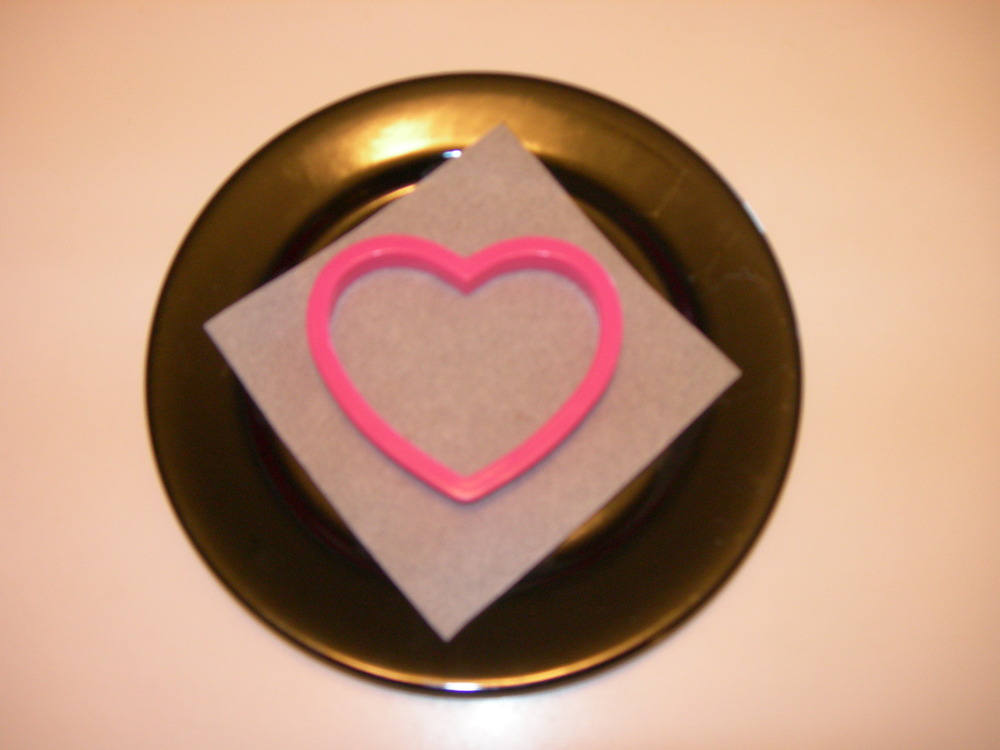
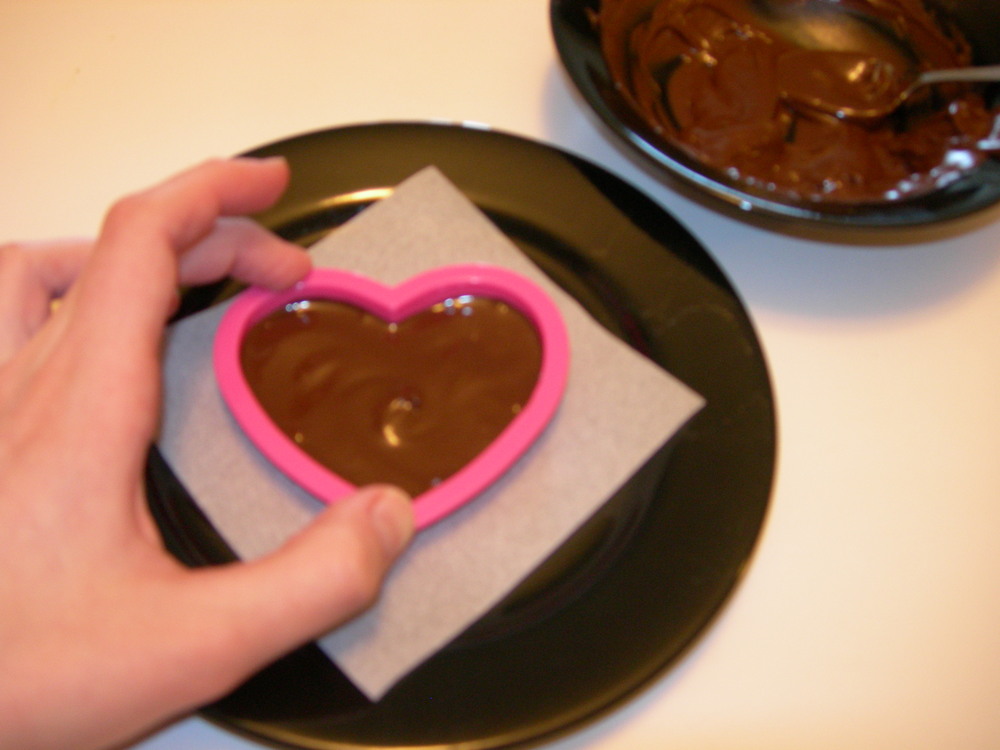
2. As you hold the cookie cutter, fill the cookie cutter with melted chocolate, at least ¼ inch high. Use a spoon (or your clean fingers) to try to “level out” the chocolate.
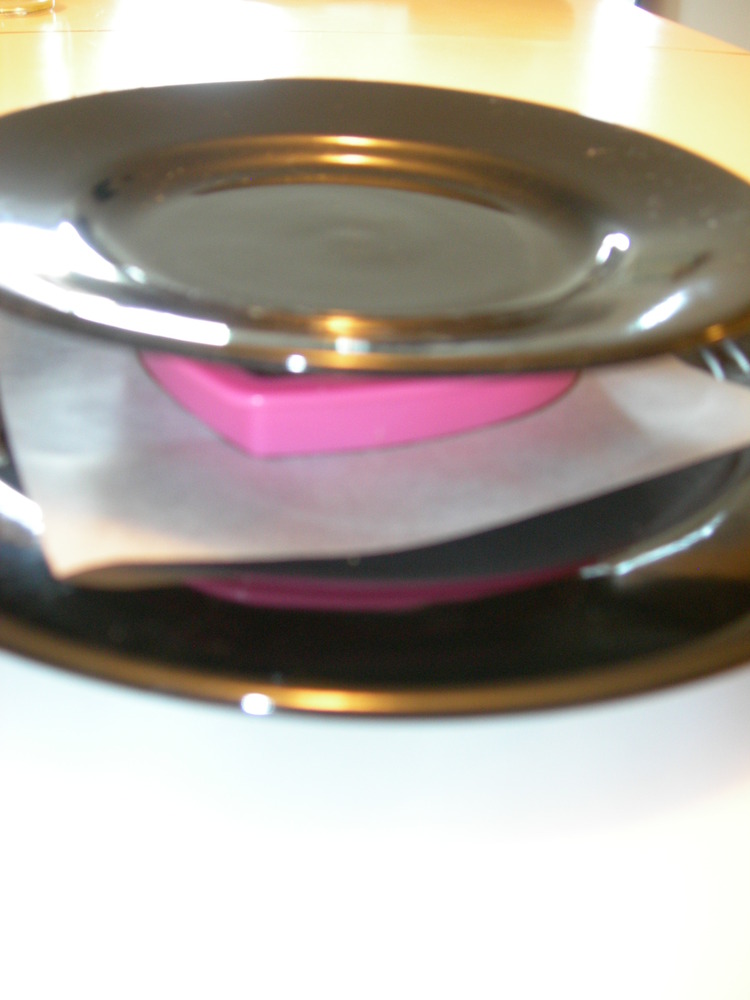
3. Place the second plate on top of the cookie cutter (to weigh it down) and refrigerate until solid. Since this is a lot of chocolate, it will probably need 5-10 minutes.
4. Once the chocolate is solid, remove the top plate. Gently press the chocolate out of the cookie cutter. Centre the smaller cookie cutter on the chocolate shape and fill with chocolate (about ¼ inch high) as you hold the cookie cutter down. Level out the chocolate. Place the second plate on top of the cookie cutter and refrigerate until solid. This creates a lip on the bottom of the lid so that it won’t slide off the box.
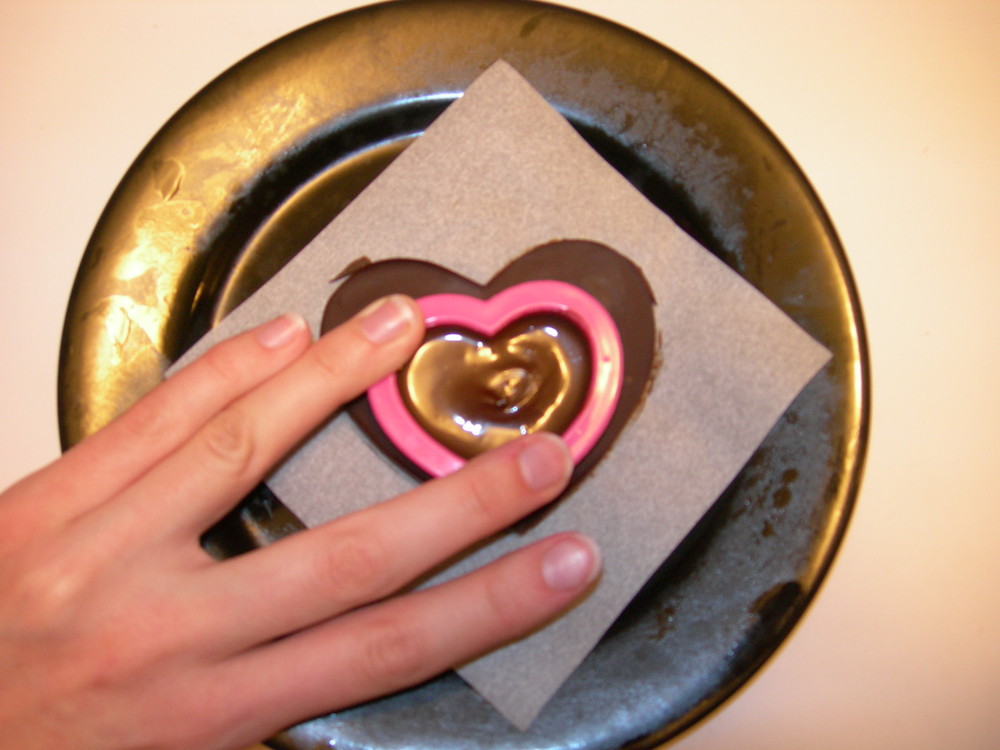
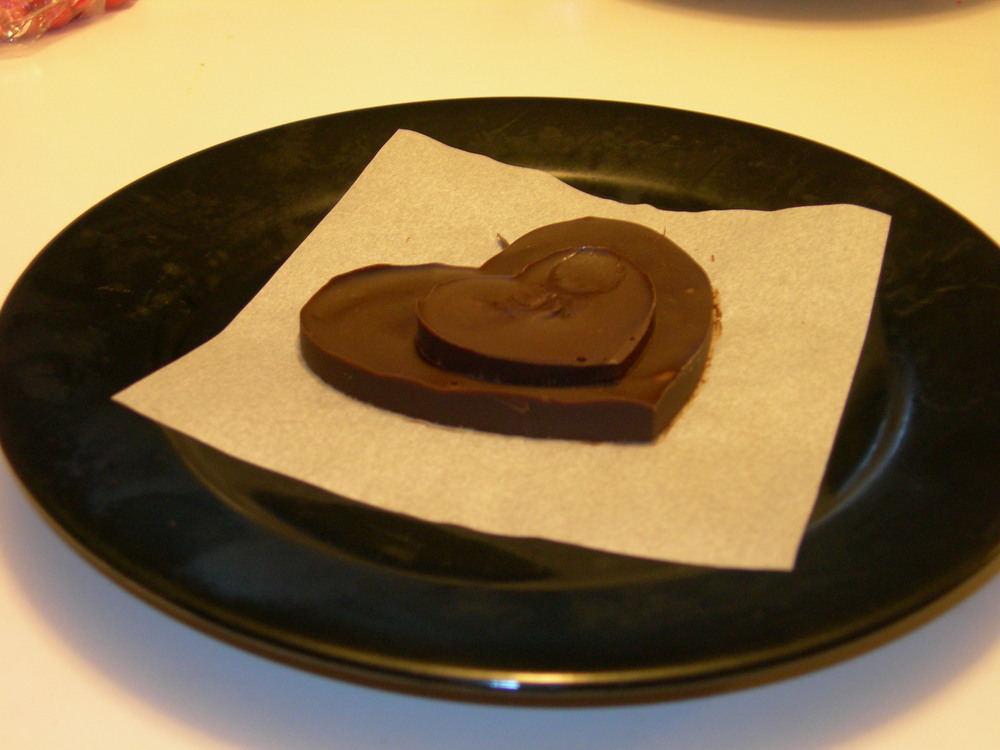
5. Gently press the chocolate out of the cookie cutter. It should look something like this. You can round off the sharp edges by “shaving” the chocolate with a sharp knife, if you wish.
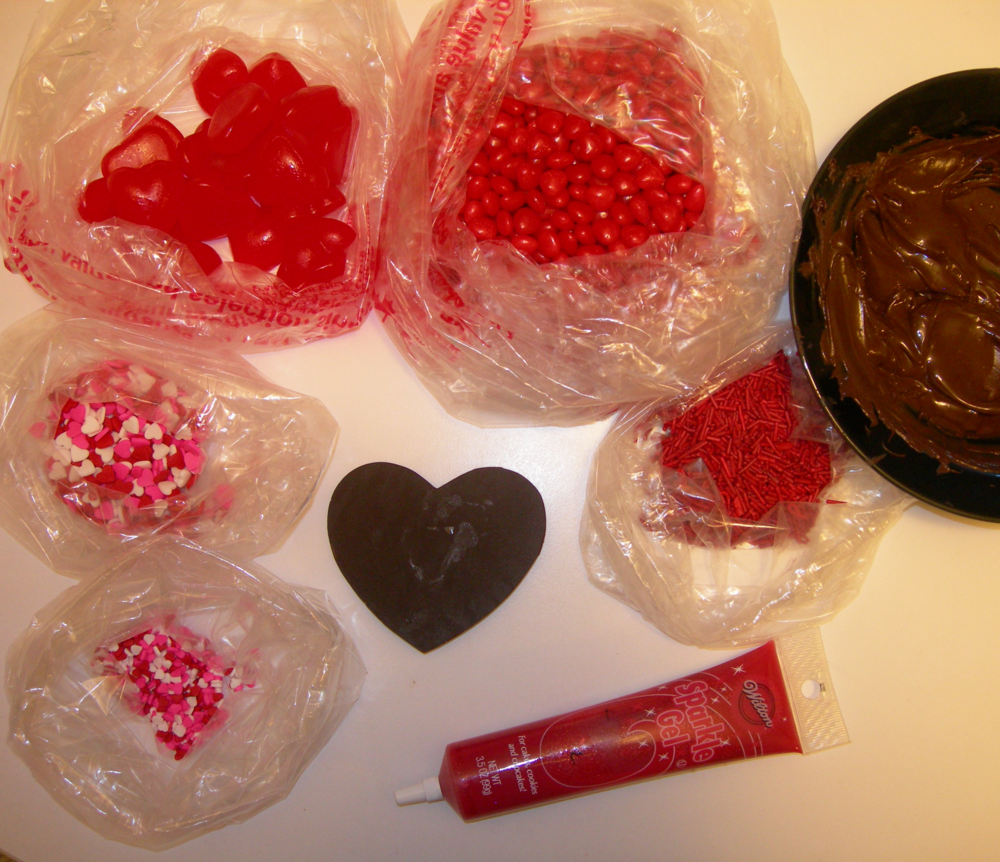
6. Flip the lid over (so the wax paper is on the top) and peel off the wax paper. Decorate the lid with icing and candies, such as sequins, jujubes, cinnamon hearts, and sprinkles. Use melted chocolate or royal icing as glue for attaching candies to the lid.
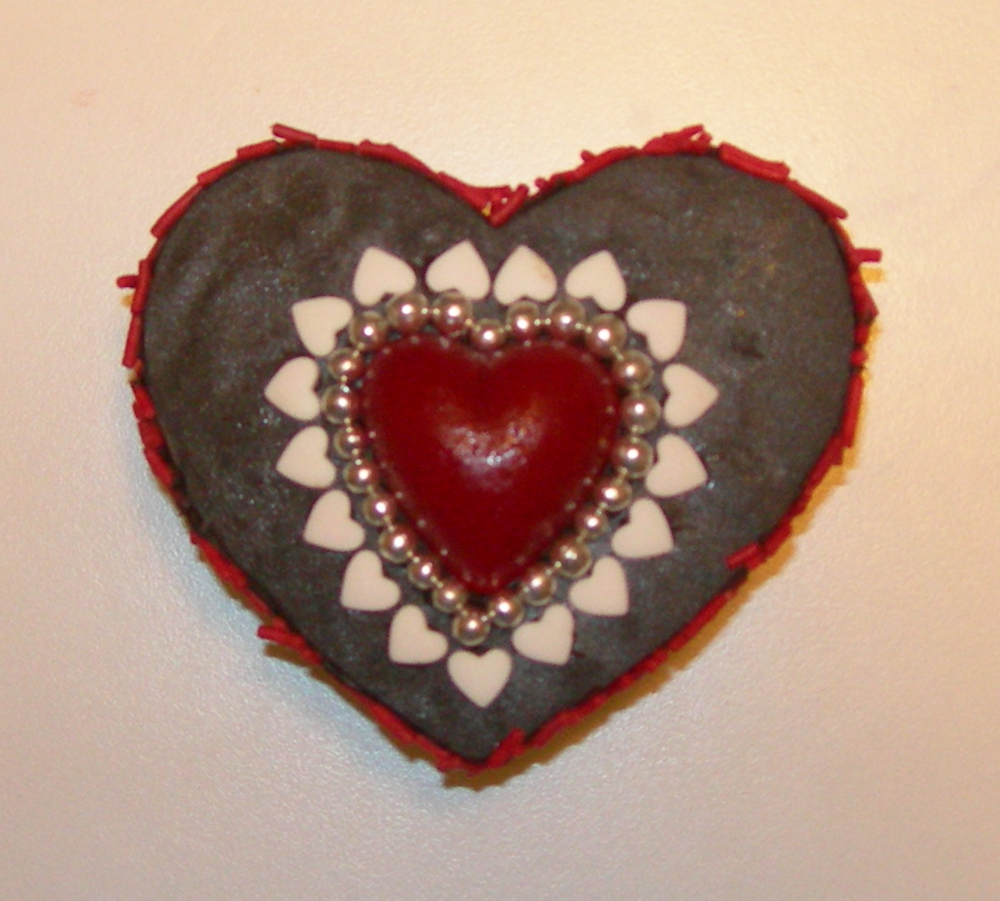
7. Fill the box with candy, a note, or a gift, place the decorated lid on top. Store in the fridge (or at room temperature, just not near heat sources) until you are ready to give it away/eat it.
Tweet